Hello again. I know... I've been missing in action again since the beginning of March. That darned Vertigo struck again which is so annoying. During that time my computer work takes a back seat. I have been making cards and other projects, so now I can post them.
This is one of the cards I found on Pinterest. The 3"x3" spool shape comes from using the Envelope Punch Board. These go together lickety split and use scraps. How cool is that? I made a set of 6 in about a half an hour, except for the needle. lol! I decided the spool needed a "a little something" and commenced drawing a needle shape. Now, I don't have any art experience but the needle shape wasn't that hard. The hard part was making it a size big enough to look right. The next set I will leave a tail of twine loose to thread through the needle.
The pin on Pinterest was to papercrafter45. The pin credited Karen Titus for the idea and video. Karen's blog is Stampin on the Back Porch and the link to her card and video is Here.
Thank You so much for stopping by, hope you enjoyed your visit!
Showing posts with label Pinterest. Show all posts
Monday, May 12, 2014
Sunday, November 4, 2012
CardSwaps Challenge, OWH Sketch, and Pinterest Make For Strange Bedfellows!
Blessed Sunday my friends! I know this is a long post title, but it fits this card to a T! The challenge at CardSwaps last Monday was to have a wreath on your card. I so wanted to make a punch art wreath with branches, or snowflakes, or leaves... all attempts were fails. I should clarify and say 3 days of fails! :( Then I saw a card on Pinterest with the cutest, and simplest, wreath. I eagerly abandoned my punch art fails and made the Pinterest wreath. Seriously, this wreath took all of about 10 minutes start to finish. Operation Write Home's weekly sketch 145 came out this morning on their blog Stars & Stamps. An A-HAH moment and it all fell into place.
I really, really like how it turned out. I was able to take a concept from Pinterest, modify it slightly, and make a card that fills the CardSwaps challenge and the OWH sketch challenge. It was quite easy to put together and would make a great kit card. Oh... and there isn't any stamping involved. Last year I found Rub-On sets by The Paper Company. It's an outside - inside set meaning the Merry Christmas is the front, or outside sentiment. The inside sentiment reads Wishing you peace, joy and happiness. Actually, I assigned Merry Christmas to the front because it fit with the sketch. Whichever way you use the sentiments it reads very well, so I don't think it matters.
For the wreath I punched the center circle first then centered the larger punch over it and punched. For the banner I used the 3/4" square punch, at an angle, to make the fishtail ends.
Ooops! I had to come back and add something. Don't ya hate when that happens? Here is the sketch we are to follow at OWH:
Supplies:
Card Stock: Bazzill red, white, green
Embossing folder - SU Petals A Plenty
Punches: 2 1/2" scallop circle(Marvy Uchida)
1 1/8" plain circle (not sure)
3/4" square punch (Creative Memories or CM)
Small heart border punch, EKSuccess... I think.
Sentiment: The Paper Co (TPC) rub-on set Merry Christmas Multiples
Ink: Ranger Distress Ink in Festive Berries
Poinsettia & Leaf: Hero Arts felt embellishments
Liquid Pearls: White Opal
Thank You so much for stopping by, hope you enjoyed your visit!
I really, really like how it turned out. I was able to take a concept from Pinterest, modify it slightly, and make a card that fills the CardSwaps challenge and the OWH sketch challenge. It was quite easy to put together and would make a great kit card. Oh... and there isn't any stamping involved. Last year I found Rub-On sets by The Paper Company. It's an outside - inside set meaning the Merry Christmas is the front, or outside sentiment. The inside sentiment reads Wishing you peace, joy and happiness. Actually, I assigned Merry Christmas to the front because it fit with the sketch. Whichever way you use the sentiments it reads very well, so I don't think it matters.
For the wreath I punched the center circle first then centered the larger punch over it and punched. For the banner I used the 3/4" square punch, at an angle, to make the fishtail ends.
Ooops! I had to come back and add something. Don't ya hate when that happens? Here is the sketch we are to follow at OWH:
Supplies:
Card Stock: Bazzill red, white, green
Embossing folder - SU Petals A Plenty
Punches: 2 1/2" scallop circle(Marvy Uchida)
1 1/8" plain circle (not sure)
3/4" square punch (Creative Memories or CM)
Small heart border punch, EKSuccess... I think.
Sentiment: The Paper Co (TPC) rub-on set Merry Christmas Multiples
Ink: Ranger Distress Ink in Festive Berries
Poinsettia & Leaf: Hero Arts felt embellishments
Liquid Pearls: White Opal
Thank You so much for stopping by, hope you enjoyed your visit!
Tuesday, August 7, 2012
Finally... the perfect blog planner... on Pinterest!
Good Morning everyone in blog land! Isn't there a quote about good intentions? The only one that comes to mind is what my Grandma used to say, "The best laid plans of mice and men often go awry." That's the way it's been so far with my blog.
When I started my blog last November I had the best intentions of posting at least twice a week. Right? Not! The blogger gods had differant intentions. My house was broken into and ransacked the following week. In January through June my mom had a series of bad falls, broken bones, hospitals, and now nursing home.
Out of chaos comes a greater need for organization, which is what this post is about. I found this wonderful Blog Planner by Beckie at Infarrantly Creative.
I have to say this is the best thing for me since sliced white bread. The left side is a monthly calendar and the right side is a weekly blog schedule. I finally got around to making one, even though the year's half gone, and it's been exactly what I've
Here's a close-up of the left and right sides respectively. I bound my pages with the orientation in the center of the book. When I complete a week I tear the page out and put it in a pocket on the inside of the back cover. The new, or current, week is always on top. I do the same for the calendar page. When a month is over I tear the page out and put it in a pocket in the inside of the front cover. By doing this I can see exactly what I'm working on without flipping through pages. [Hmmm... I hope I didn't confuse you here.]

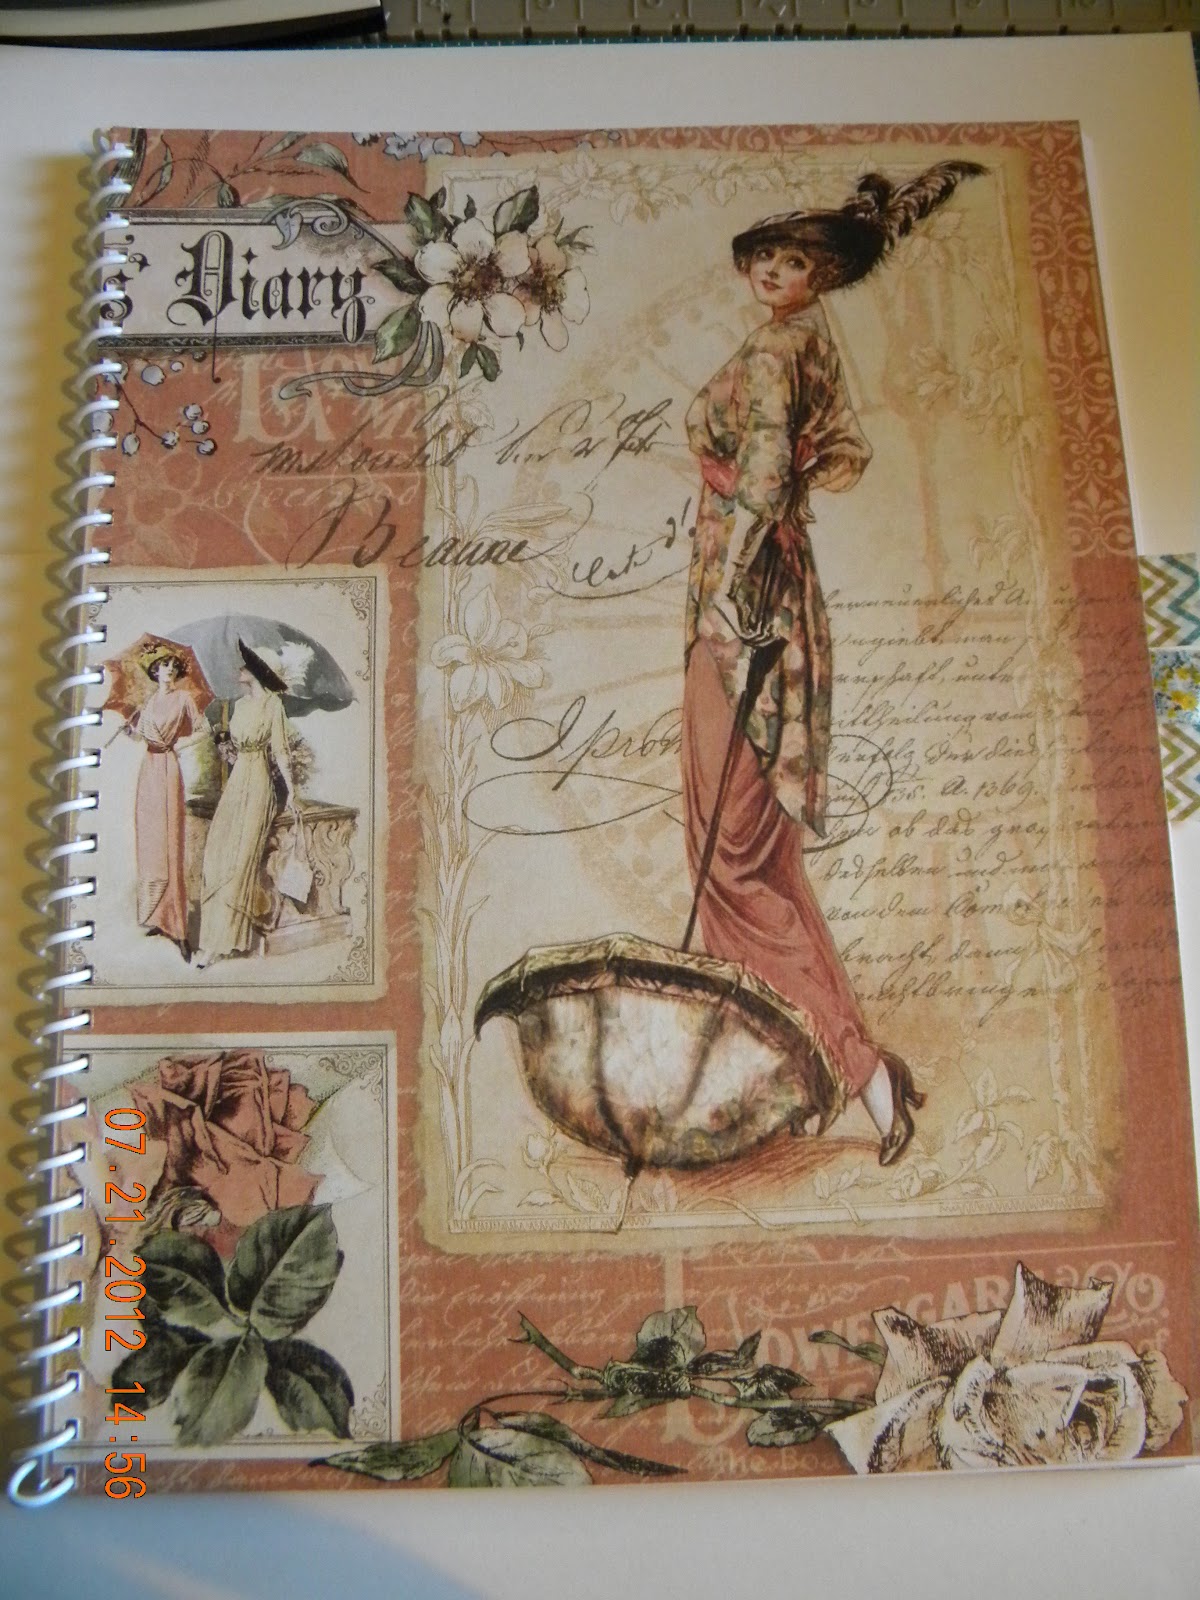
For the front and back covers I used the new Grafic45 collection called A Ladies' Diary.
I resisted the urge to fancy up the front with a lot of embellishments. I could have gone hog wild with lace and flowers, but I wanted this to lay flat when opened. I used my new, inexpensive, compact, highly portable, spiral binding system by CarlaCraft to bind it all together. [note: stayed tuned for a post on this binding system.]
If you're still with me... thank you for reading this incredibly long post. Thank you also for stopping by. Hope you enjoyed your visit!
When I started my blog last November I had the best intentions of posting at least twice a week. Right? Not! The blogger gods had differant intentions. My house was broken into and ransacked the following week. In January through June my mom had a series of bad falls, broken bones, hospitals, and now nursing home.
Out of chaos comes a greater need for organization, which is what this post is about. I found this wonderful Blog Planner by Beckie at Infarrantly Creative.
I have to say this is the best thing for me since sliced white bread. The left side is a monthly calendar and the right side is a weekly blog schedule. I finally got around to making one, even though the year's half gone, and it's been exactly what I've
Here's a close-up of the left and right sides respectively. I bound my pages with the orientation in the center of the book. When I complete a week I tear the page out and put it in a pocket on the inside of the back cover. The new, or current, week is always on top. I do the same for the calendar page. When a month is over I tear the page out and put it in a pocket in the inside of the front cover. By doing this I can see exactly what I'm working on without flipping through pages. [Hmmm... I hope I didn't confuse you here.]
For the front and back covers I used the new Grafic45 collection called A Ladies' Diary.
I resisted the urge to fancy up the front with a lot of embellishments. I could have gone hog wild with lace and flowers, but I wanted this to lay flat when opened. I used my new, inexpensive, compact, highly portable, spiral binding system by CarlaCraft to bind it all together. [note: stayed tuned for a post on this binding system.]
If you're still with me... thank you for reading this incredibly long post. Thank you also for stopping by. Hope you enjoyed your visit!
Friday, August 3, 2012
Ideas from Pinterest
Are you a Pinterest-aholic? I love the extra card ideas and inspiration I find on Pinterest. Maybe it's a color scheme, or a layout. How about a new way to use stamps or make punch art? Whatever it is... I love it! Today I have two sets of cards I made for OWH using ideas found on Pinterest.
The first set is by Mary Jo at Technostamper. I found this was a very easy card to put together using embossing folders and scraps of paper. It's also a great CAS design.
The second set is by Chanda at Bellvue Stamping Club. How many of you had a toy xylophone when you were a kid? I did, and I loved it! I don't know about you... but this card makes me smile.
Thank you Mary Jo and Chanda for your ideas and inspiration. And thank you my peeps for stopping by. Hope you enjoyed your visit!
The first set is by Mary Jo at Technostamper. I found this was a very easy card to put together using embossing folders and scraps of paper. It's also a great CAS design.
The second set is by Chanda at Bellvue Stamping Club. How many of you had a toy xylophone when you were a kid? I did, and I loved it! I don't know about you... but this card makes me smile.
Thank you Mary Jo and Chanda for your ideas and inspiration. And thank you my peeps for stopping by. Hope you enjoyed your visit!
Subscribe to:
Posts (Atom)